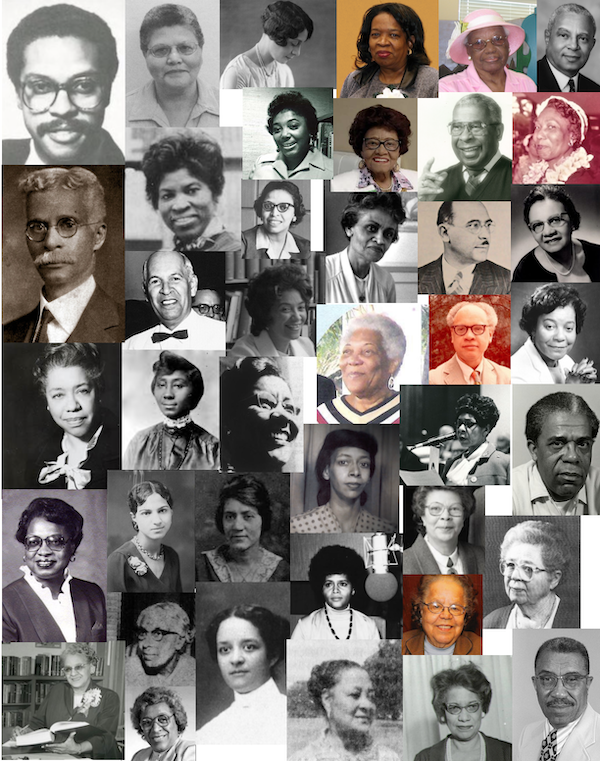
I’ve always got some nerdy Wikipedia project going. I think improving Wikipedia’s coverage of marginalized voices is worthwhile work, even as I understand and agree with many of the criticisms of the place. My most recent project was to look at the list of African American librarians (108 in total) and try to add as many photographs as I could (41, many articles already had images) to articles that didn’t have one. This is tricky work, because you can usually only add images that have free licenses–either public domain, or certain Creative Commons licenses. These can be hard to find.
However, there is a very useful loophole which is that if you are adding an image to Wikipedia–and not Wikimedia Commons where most image uploads happen–you can take a copyrighted image, shrink it to a small, low-resolution size, and use it to illustrate a page of someone who is deceased. Here’s a page that explains it but it’s a lot of reading. There are similar fair use exemptions for logos, cover art, and a few other categories; this is just about images of people. Here’s a short explainer.
- Identify a deceased person’s Wikipedia page with no image. The person’s biography must specifically mention that they are no longer alive, or have a death date. This only works for a single image on a person’s page used to identify them.
- Find an image of the person from a place that is not in the business of selling images (i.e. not Getty Images). I usually start with Google Images and branch out from there. For women especially, you may need to search under their married and maiden name, or try different combinations including their middle names. For African American librarians, it was gratifying to see so many library archives and blogs which had images of the librarians I was looking for, usually telling their stories.
- Take a tight-ish headshot crop of the image. Adjust the dimensions so that the longest side is no more than about 200 pixels and the resolution is at 72 DPI. The rule of thumb is no more than 100,000 pixels. The good news is, if you mess this up, a bot will fix it for you. On a Mac, the Preview application can do this. GIMP is other image editing software that can do this. You can do this on Windows using Paint or other 3rd party software.
- Go to Wikipedia’s upload file page. If you want a guided experience, click the lower of the two buttons which says Upload a non-free file. Otherwise click Plain form for local uploads, and go to the next step.
- Choose the file you want to upload. Give the file a sense-making name, usually the name of the person with the proper file extension. Here’s an example: Thomas_Fountain_Blue.png. If there’s already a file with that name, the page will tell you.
- The Summary section needs to include your fair use justification. You can see the one I used for Thomas Fountain Blue above. My best advice is to click “edit source” next to the Summary on that image, copy the Non-free use rationale and adjust it to suit your image. You can also fill in the boxes on the guided form to do the same thing. Keep in mind you do not need to know the answers to all the questions in order for your fair use justification to be acceptable. A few notes:
- Source is where the image originated, if you know it
- Immediate Source is where YOU got it and can include a URL, something more specific than just saying “Google Images”
- Author is who took the photograph, if known
- Article needs to be the exact title of the article as it appears on Wikipedia, so if the article is John C. Tyson (librarian), put that in
- The rest of it can stay as-is, make sure you include at least the year the person died in the last section
- In the Licensing pulldown underneath the Summary box, select deceased person. This will add the text block that is shown. Looks scary but isn’t really.
- Hit the Upload file button and upload your file.
Congratulations, your image is now on Wikipedia! Before you wrap up, make sure to add the image to the person’s Wikipedia page.